
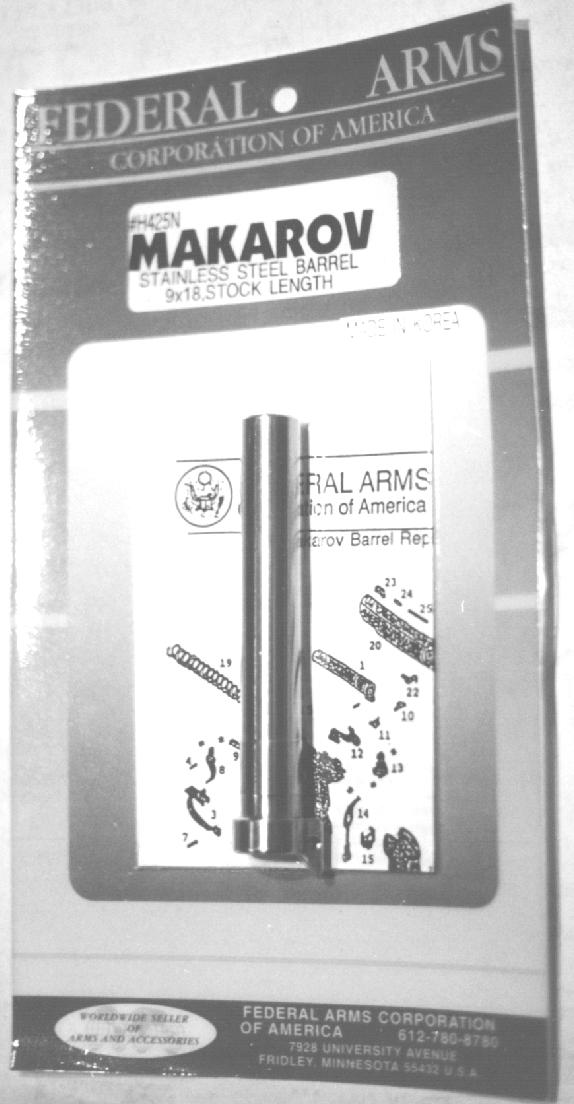
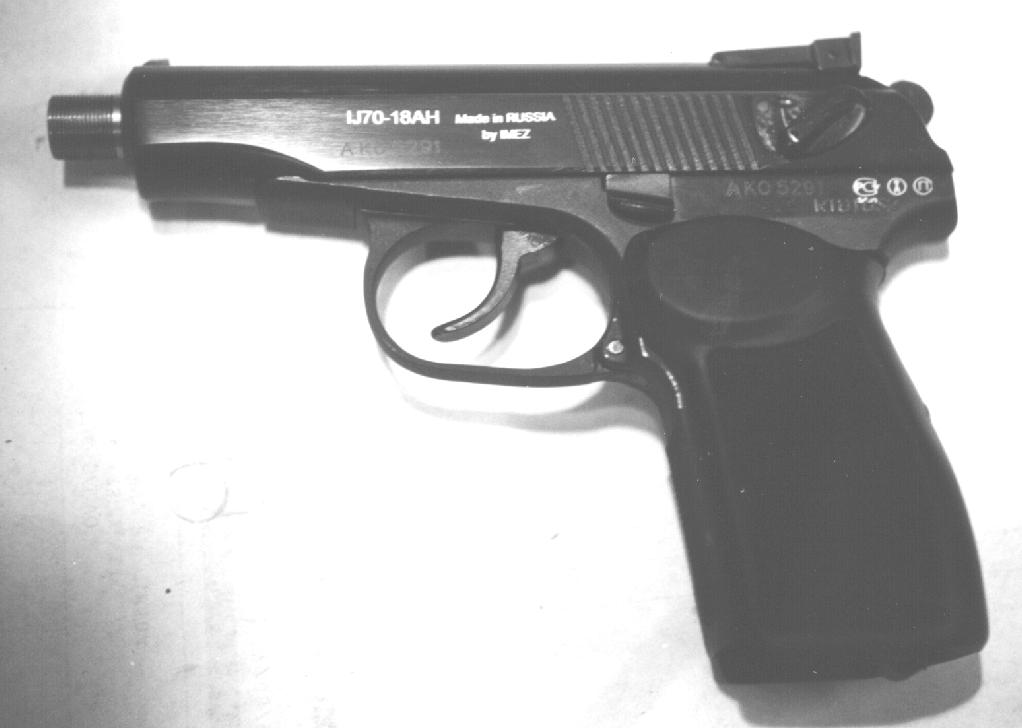
I recently set out to replace the barrel on my 10-round Russian Makarov with one of the
stainless steel barrels offered by Federal Arms. I will post a complete set of instructions
once I build up the necessary expertise in this myself.
For now, I offer some banterings while I actually to the work.

September 4, 1997:
Today's lesson: practice makes perfect
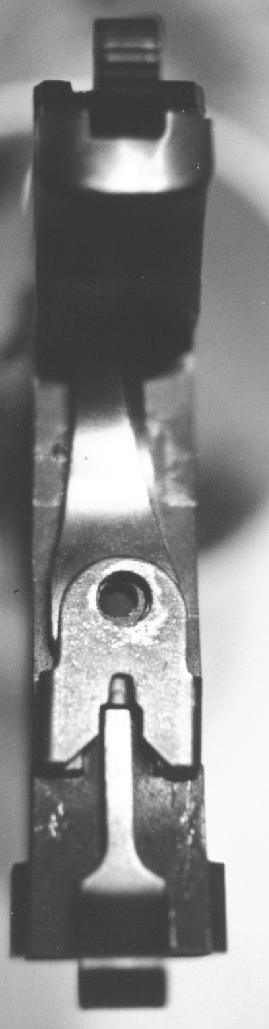
Having ground down the bottom of the feed ramp to match the
front of the mag well with my trusty Dremel tool, I was feeling
pretty good about the whole install. It's kinda like the first time
you change the oil on your car, lovingly using a torque wrench to
replace the oil drain plug rather than having some snot-nose kid do
it at the local Jiffy Lube using an air wrench.
I had crafted some dummy rounds of FMJs to test the feeding. This,
by the way, is another advantage of loading your own ammo... make
your own test dummy rounds.
I loaded them in an 8-round magazine since we all know that 8-round
magazines fit and function in a high-capacity Makarov. I pulled back
the slide, locked it in place manually by pushing the slide release
up, and released the slide... clunk! The cartridge was stuck on the
feed ramp, nose at the top of the chamber. I figure it was a fluke.
Dug it out and tried again... clunk!
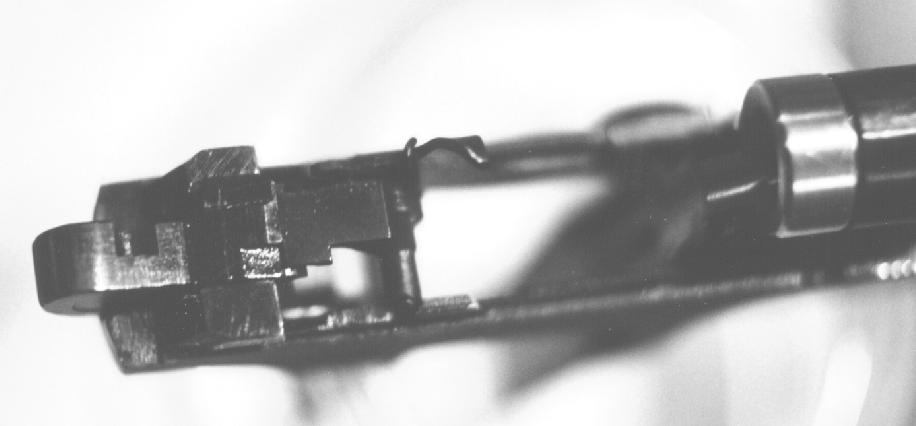
Upon inspecting the dummy rounds, they had some serious damage on
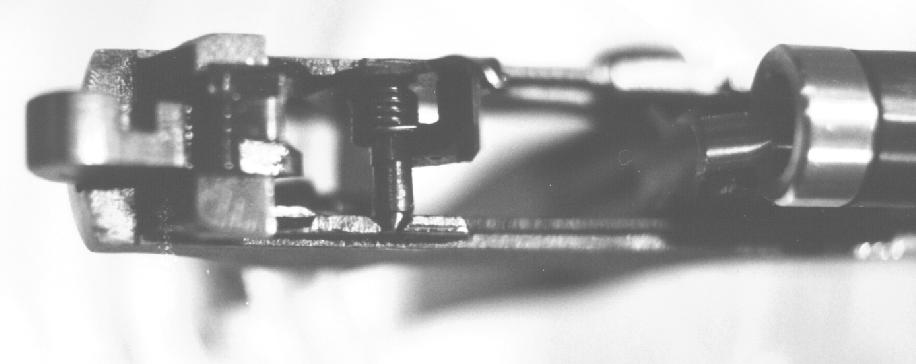
the brass where they impacted the top of the feed ramp. I looked at
the barrel...I looked at the original barrel. Aha! They machined a gentle
slope in the original barrel to let rounds feed better. I inspected the
barrel that John Grove rechambered to 9.2x19 and it had a bit of a
slope as well. OK, more 'smithing.
Problem is, once that barrel was installed, it was hard to reach in
there with the Dremel. I came to the grim realization that I
had to take the sucker apart again. So I did just that and this
time, it was getting much easier (thus "today's lesson"). This time I
took pictures...to be posted when I get them back and scanned. Even
the barrel came out on the first try with no strong-arming,
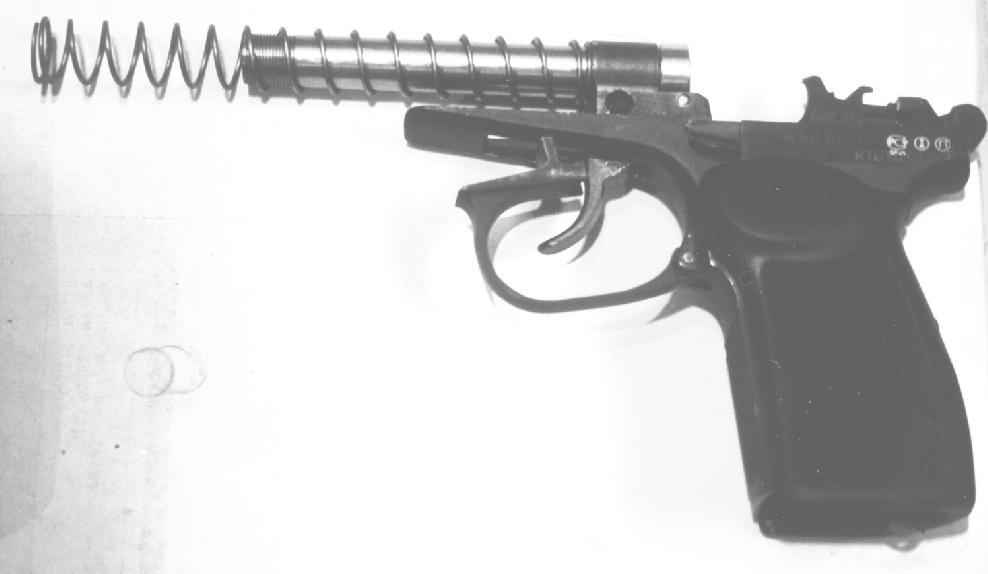
freezing, or pounding. This time I decided to take everything apart
except the trigger guard and spring; I figured I could take the barrel
out without doing this. Wrong! Well you can, but the spring is
held in place by the top of the barrel.
Some time with a fine stone on the Dremel and using the original
barrel as a guide, I ground everything out just so, trying the dummy
rounds every now and then to see where they still snag.
The reassembly was straightforward, except for the trigger guard pin.
I thought I had this down, but it cost me a bloody fingernail and
some four-letter words this time.
Tested the dummy rounds... feed great! Now it's time for a range
test. I took a Polaroid, but it came out pretty crappy, so you'll
have to wait for the 35mm pics to come back for the whole procedure
documented in living color. I'll post the picture anyway on the
barrel replacment updage page.
Summary
1) Barrel replacement is not a plug and chug procedure and should
probably not be attempted by the mechanically disinclined or those
without the proper tools.
The proper tools include:
2) Detail stripping the gun is not as hard as it first seems.
However, the instructions that come from Federal are not that good.
I highly recommend Walton Cude's Ultimate Makarov Guide for this
procedure. If you can, borrow a friend's assembled Makarov to see
where everything goes. I'll try to put better instructions with
pictures on the Makarov page when I can.
3) Estimate the amount of time you need, then multiply by 4. If
you're lucky, it won't take that long and you'll have extra range
time.
4) Barrel replacement is _not_ something you can easily do at the
range, so forget about shooting .380 and 9x18M in the same day. I
can just picture losing the barrel retention pin in the grass next to
all the spend .22 shells. ROTFL.
That's it for now. I'll report back when I've range test and
chronied the sucker with and without muzzle brake/flash hider.
September 2, 1997:
Today's lesson: nothing beats experience and a model
After installing the new threaded barrel in my Russian Makarov
(details to be found below), I
got around to reassembling the rest of the pistol last night. Now
given that the Makarov has fewer parts than most comparable pistols,
this should be a relatively simple task.
As it turns out, there are a few snags. I won't say that the
instructions from Federal are completely worthless, but without
pictures, they are a 3 on the scale of 1 to 10. I had tackled the
trigger guard with spring last time, which was a bit tricky.
Yesterday's tricky part turned out to be the transfer bar/cocking
assembly. What the Federal instructions don't tell you is how to
move the trigger and how to rotate the hinged cocker just right when
reassembling.
I won't go into the details now since I'll do a write up with photos
on the Makarov page when I'm all done, but a fully assembled Makarov
and a love for puzzles is essential. Well, at least highly
desirable.
I also discovered that the design for the main spring retention
device is different on the Bulgarian Makarov (my fully assembled
model) and the Russian Makarov. The Federal instructions also fail
to mention that it helps to have the trigger depressed when you
reinstall the main spring.
Anyway, it's all back together now, but I know I will have to take it
apart again. One thing that is not obvious (and nobody that sells
the stuff tells you), is that you'll have to grind down the feed ramp
on the barrel to make it match your frame. So I'll tear the pistol
down again and possibly take pictures as I do so.
Next time...feed ramp griding and test firing. Of course, I've
misplaced the flash hider/muzzle brake among all my frabbitz in the
basement, so I hope to locate that before the range test.
August 19, 1997:
I've received several messages from people who have done this with
various advice; to those I say - thank you!
As we all know, things look different on paper than when you actually
go to do them. The latest in the barrel-replacement saga:
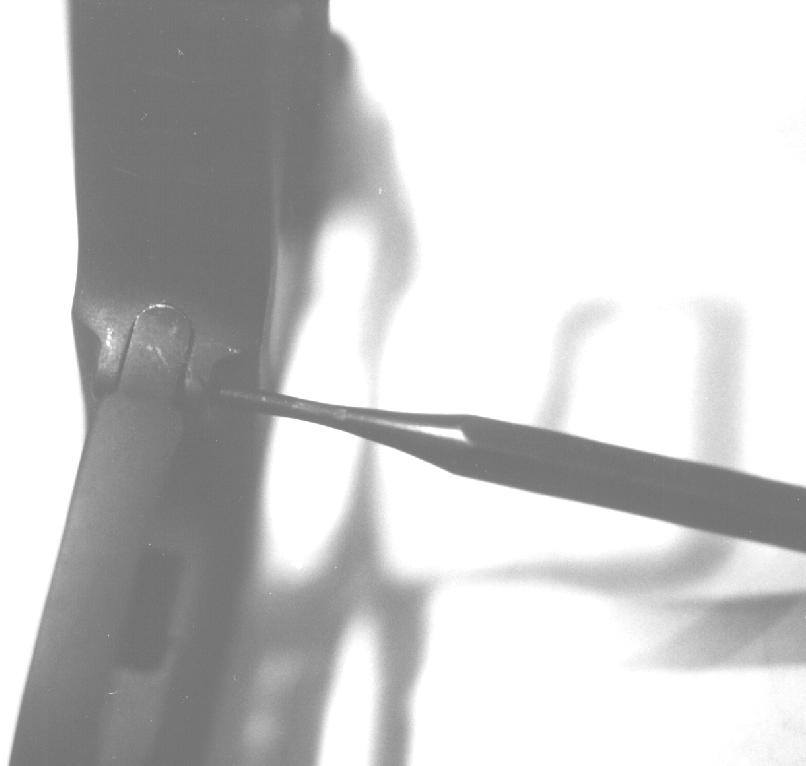
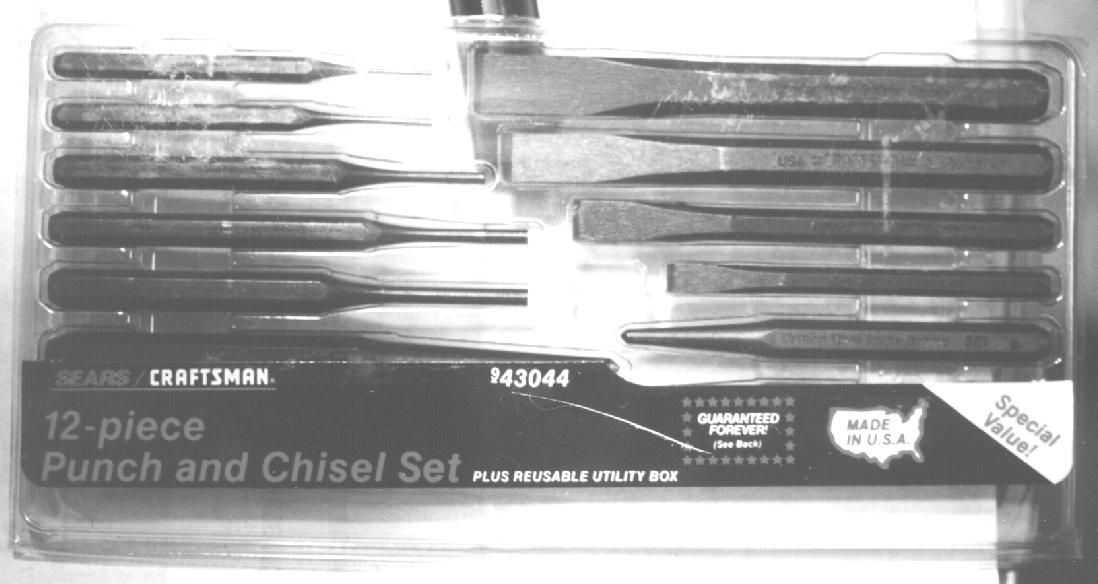
After succeeding in getting the barrel pin out with my new set of
Craftsman punches, I still had trouble with the barrel itself. John
Grove kept telling me that freezing the frame was the trick. So
after much pounding and soaking with B-laster (something like Liquid
Wrench...something every VW owner has in his/her toolbox), I decided
to give the freezing a try.
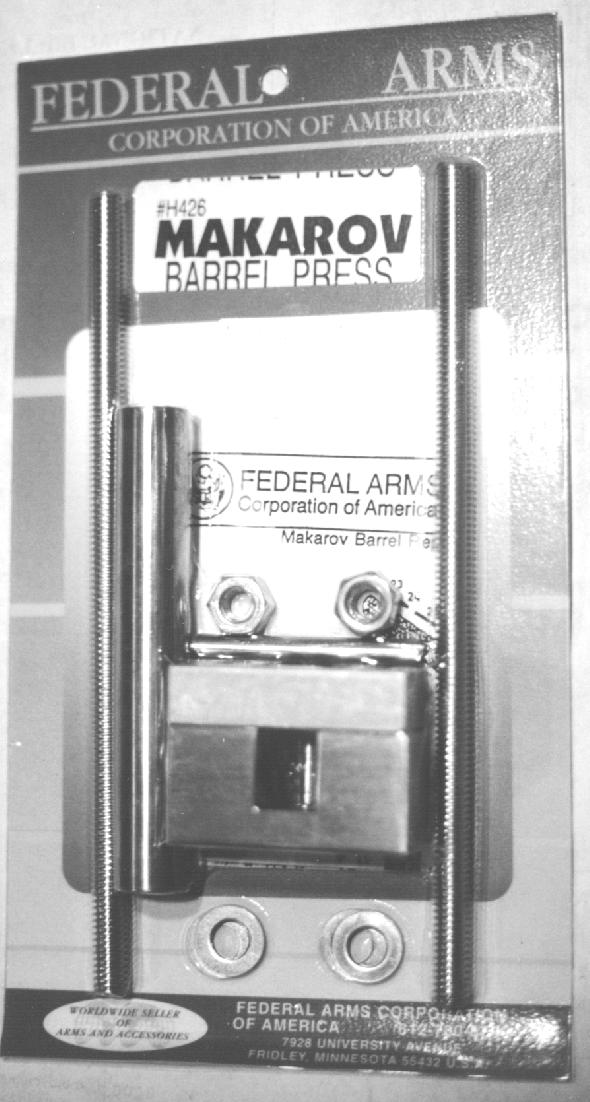
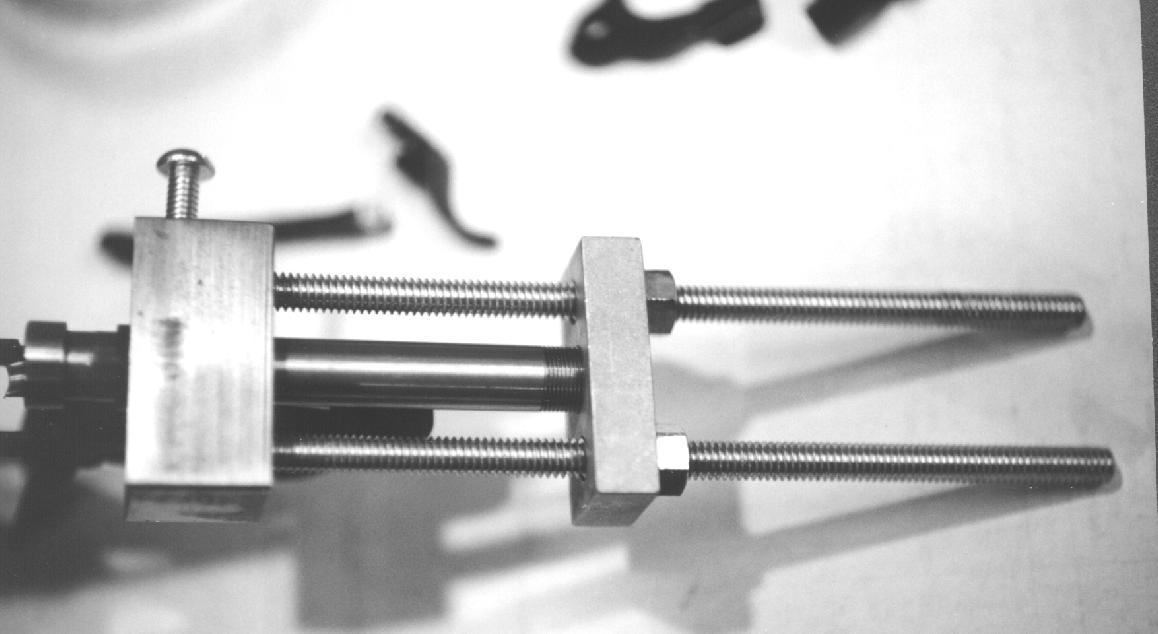
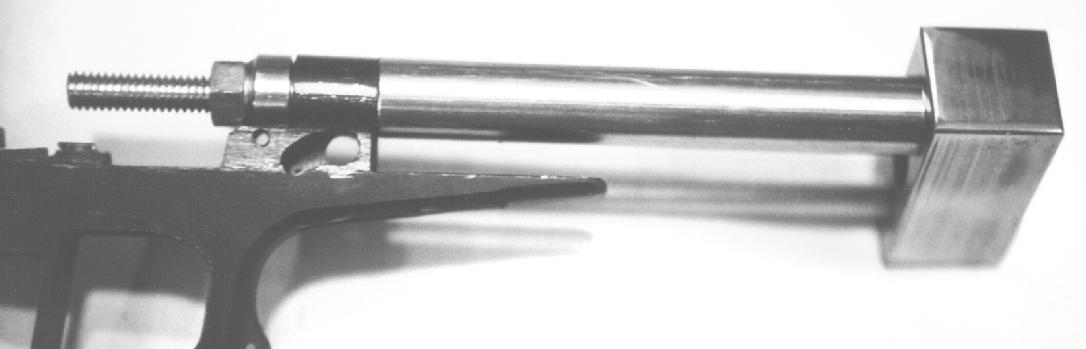
Tonight I pulled the frame out of the freezer, slipped the aluminum
slide from the barrel press over the muzzle, briefly heated the
barrel retaining tube (for lack of a better expression) with a
propane torch, and began pounding on the barrel end (but on the
aluminum piece, not the barrel directly). Sure enough, it finally
budged and I was able to get it out.
So why, you say, was this so difficult when others have done this
with relative ease. Well, for whatever reason, I had rust between
the barrel and the retaining tube. The B-laster stuff helped loosen
it (it really did creep in there with capillary action like they
claim) and the freezing bit did the rest.
I cleaned out the frame and put some silicone lube in the contact
surfaces so I can back the new barrel out more easily.
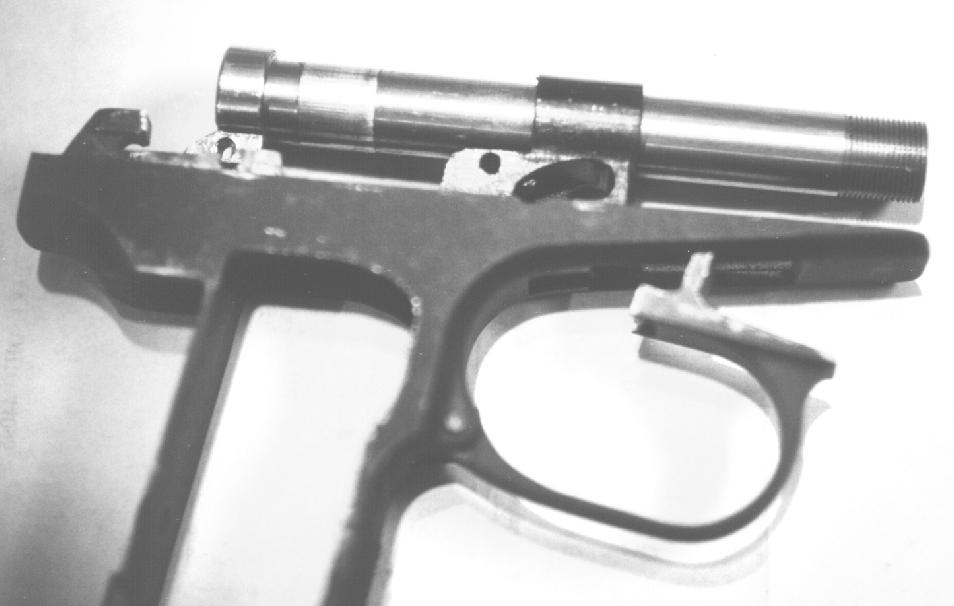
The new barrel lined up rather easily and I used the remaining parts
of the Federal barrel press to push the new barrel back in. For the
record, I'm using a threaded 9x18M barrel. I had intended to put in
the wildcat 9.2x19 barrel from John Grove, but for some reason I had
the other one lying on the bench and it wasn't until it was firmly
seated that I realized my mistake. Sorry John, you'll have to wait a
bit longer for me to test that one (although not too long...I'll have
this procedure down in no time).
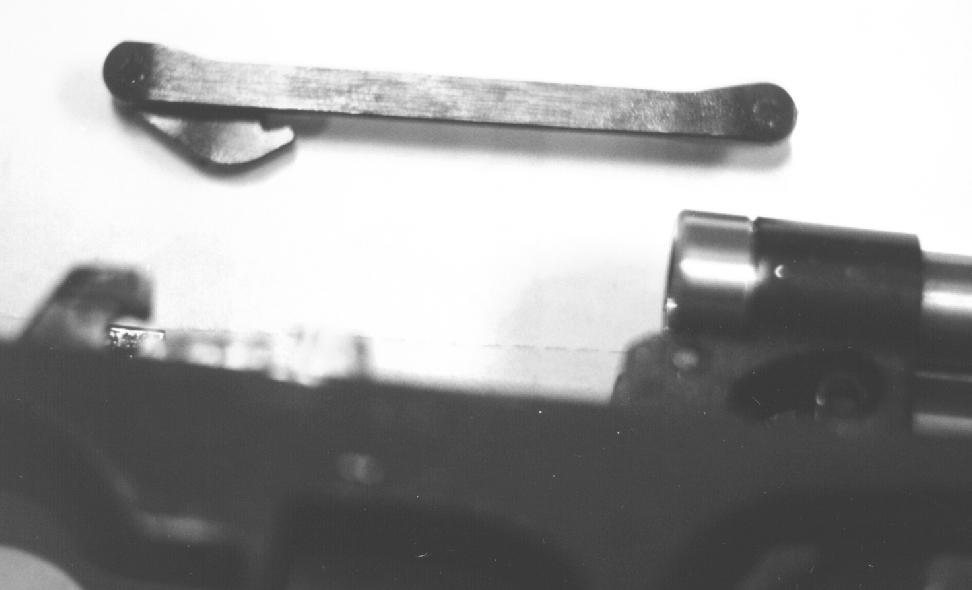
After some jiggling of the barrel seating depth, I pounded the
retaining pin back in and started reassembly of the rest of the
pistol. That's where I am now...the trigger guard is back on (that
spring is a bear to hold in there while fumbling with the pin), the
hammer is back on, but the double-action transfer bar is not in yet
(gotta figure out how that fits back in...time to pull out Cude's
book).
Once I get this sucker back together, I'll range test it with and
without the muzzle brake/flash hider.